Drawing bows can be a rewarding and creative experience, whether you're a beginner or an experienced artist. This timeless subject has fascinated artists for centuries, from delicate bow designs on gift packages to intricate bows in fashion illustrations. The ability to draw bows adds a touch of elegance to your artwork and enhances your creative versatility. In this article, we’ll explore how to draw bows step by step, ensuring you gain the skills to create beautiful and realistic bows with ease.
From understanding the basic structure of a bow to mastering shading techniques, this guide will cover everything you need to know. Whether you’re sketching for fun or working on professional projects, learning how to draw bows is a valuable skill. We’ll break down the process into manageable steps, ensuring you can follow along effortlessly and build confidence in your artistic abilities.
Are you ready to dive into the world of bows? By the end of this article, you’ll have the tools and knowledge to create stunning bows that stand out. So grab your pencils, sharpen your skills, and let’s get started on this artistic journey!
Read also:Why Did Chiron Teach Thalia The Mist Thing Unveiling The Mysteries
Table of Contents
- What Are the Basics of Drawing Bows?
- How to Draw Bows Step by Step
- Can You Use Different Styles to Draw Bows?
- What Techniques Enhance the Realism of Bows?
- How to Incorporate Bows into Various Art Forms
- What Are Common Mistakes to Avoid When Drawing Bows?
- How Can You Practice Drawing Bows Effectively?
- Where Can You Find Inspiration for Drawing Bows?
What Are the Basics of Drawing Bows?
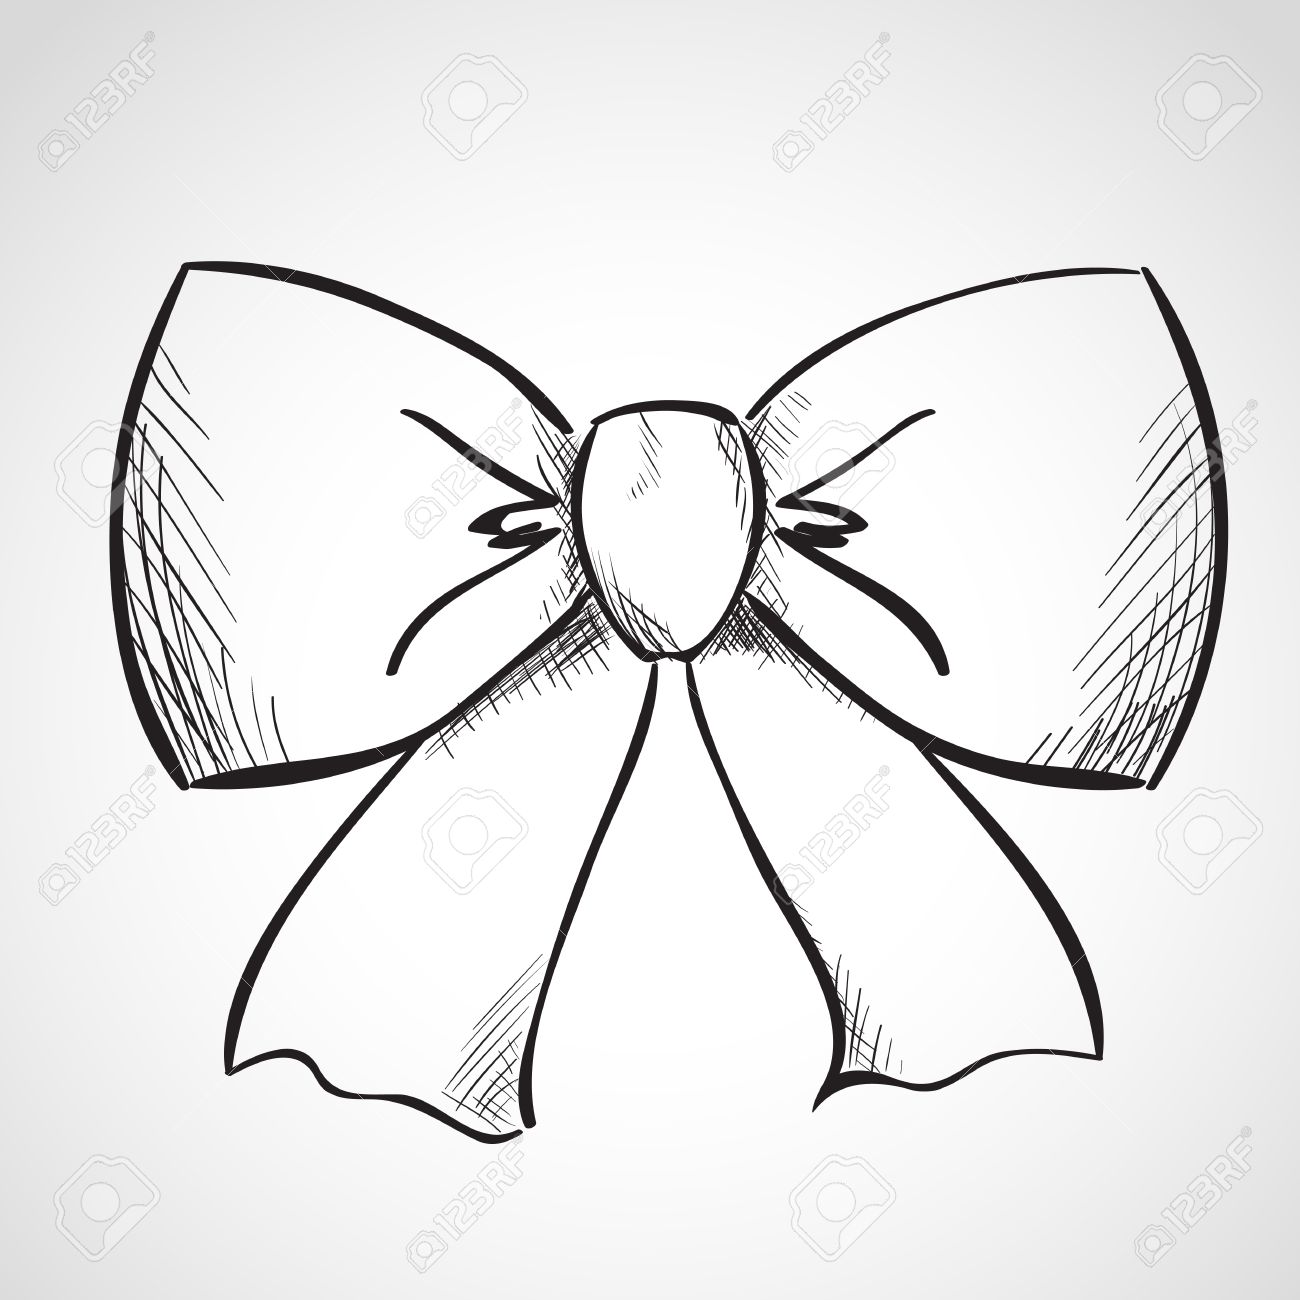
Before diving into the specifics of how to draw bows, it’s essential to understand the foundational elements that make up a bow. At its core, a bow is a decorative knot or loop made from ribbon, fabric, or other materials. The basic structure includes two loops and a knot in the center, which serves as the focal point. Understanding these components will help you create a balanced and visually appealing bow.
One of the first things to consider is symmetry. A well-drawn bow should have a sense of balance, with both loops being proportionate to each other. This doesn’t mean they have to be identical, but they should complement one another. Additionally, the knot in the center should appear secure and well-defined, as it anchors the entire design.
Another key aspect is the perspective. Depending on how you want to portray the bow, you may choose to draw it from the front, side, or even a three-quarter view. Each perspective requires a slightly different approach, but mastering these variations will allow you to incorporate bows into a wide range of artistic projects.
How to Draw Bows Step by Step
Step 1: Sketching the Framework
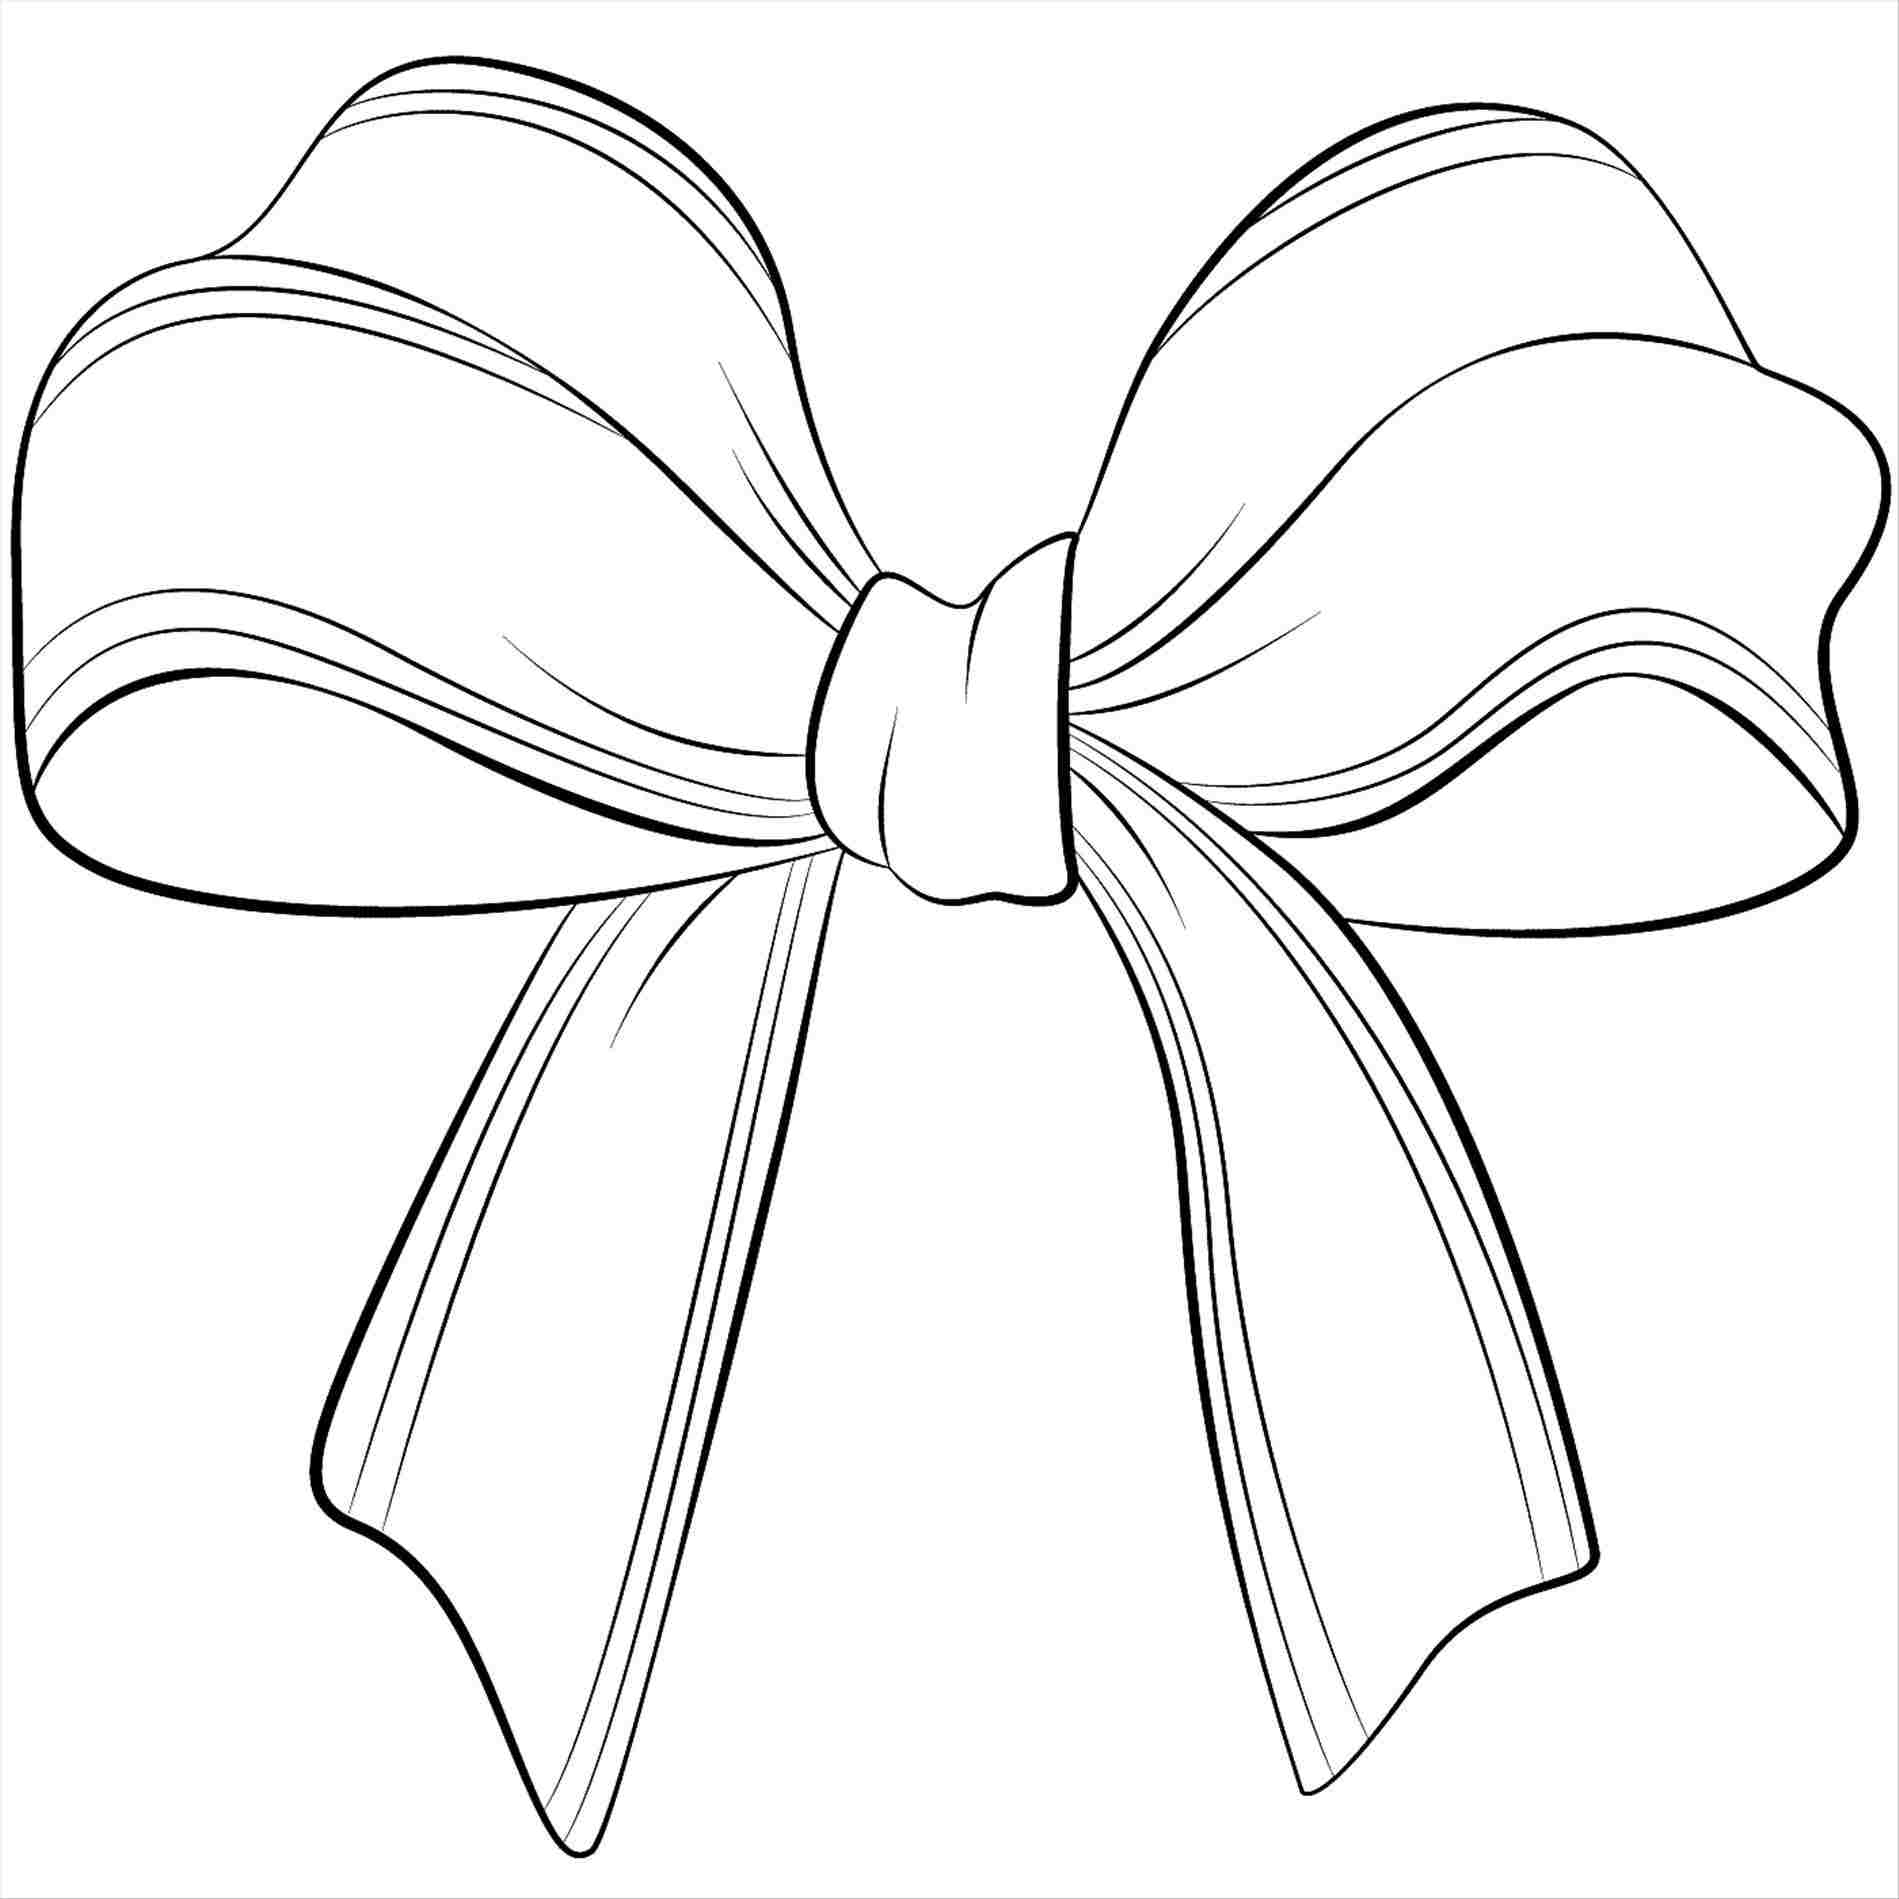
The first step in learning how to draw bows is to sketch a basic framework. Start by drawing two overlapping ovals to represent the loops of the bow. These ovals don’t need to be perfect; they simply serve as a guide for the final shape. Next, draw a small rectangle or oval in the center to represent the knot.
Once the framework is in place, refine the outlines of the loops. Make sure they taper slightly toward the center, as this creates a more natural and flowing appearance. The ends of the loops can be drawn as pointed or rounded, depending on the style you’re aiming for. Keep your lines light at this stage, as you’ll be adding more details later.
Finally, focus on the knot. This part of the bow is crucial, as it holds the loops together. Draw the knot slightly overlapping the loops to give it a sense of depth. You can add subtle folds or creases to the knot to make it look more realistic.
Read also:Exploring The Impact Of George Floyd Ai Movie A Cultural Reflection
Step 2: Adding Details
With the basic framework complete, it’s time to add details that bring your bow to life. Start by refining the edges of the loops and knot. Use smooth, flowing lines to create a sense of movement and elegance. You can also add texture to the ribbon by drawing faint lines that follow the curve of the loops.
Shading is another important step in how to draw bows. Use a pencil or blending tool to add shadows where the loops overlap and where the knot connects to the loops. This will give your bow a three-dimensional appearance. Pay attention to the light source in your drawing, as this will determine where the shadows and highlights should be placed.
Finally, consider adding decorative elements such as patterns or embellishments to the ribbon. This could include stripes, polka dots, or even floral designs. These details can make your bow stand out and add a personal touch to your artwork.
Can You Use Different Styles to Draw Bows?
One of the great things about drawing bows is the versatility it offers. You can experiment with different styles to create bows that suit various themes and purposes. For example, a simple and sleek bow might be perfect for a minimalist design, while a more elaborate bow with intricate details could be ideal for a festive or whimsical project.
Here are some popular styles to consider:
- Classic Ribbon Bow: This style features smooth, flowing loops and a clean knot. It’s a timeless choice that works well in both traditional and modern designs.
- Fabric Bow: Drawing a fabric bow involves adding more texture and folds to the ribbon. This style is often used in fashion illustrations and adds a sense of realism.
- Festive Bow: Incorporate patterns such as stripes or polka dots to create a festive look. This style is perfect for holiday-themed artwork.
Experimenting with these styles will not only enhance your skills but also allow you to express your creativity in unique ways.
What Techniques Enhance the Realism of Bows?
To make your bows look more realistic, consider incorporating advanced techniques such as shading, highlighting, and texture. These elements can significantly enhance the depth and dimension of your drawings.
Shading is particularly important when learning how to draw bows. By adding shadows to the overlapping areas and folds, you can create a sense of depth that makes the bow appear more lifelike. Use a blending tool or a soft pencil to achieve smooth transitions between light and dark areas.
Highlighting is another effective technique. Use an eraser or white pencil to add highlights to the edges of the loops and the knot. This will give the bow a glossy or satin-like appearance, depending on the material you’re trying to emulate.
Finally, don’t forget to add texture to the ribbon. Whether it’s a smooth satin ribbon or a textured fabric, incorporating these details will make your bow more convincing and visually appealing.
How to Incorporate Bows into Various Art Forms
Bows can be used in a wide range of artistic projects, from fashion illustrations to gift packaging designs. Understanding how to draw bows in different contexts will expand your creative possibilities.
For example, in fashion design, bows are often used as decorative elements on dresses, hats, and accessories. By mastering how to draw bows, you can incorporate them into your fashion sketches to add elegance and flair. Similarly, in gift packaging design, bows can be used to enhance the presentation of a gift box or bag.
Bows can also be used in digital art and graphic design. With the rise of digital tools, artists can create bows with precision and experiment with colors and textures that might be difficult to achieve with traditional methods.
What Are Common Mistakes to Avoid When Drawing Bows?
While learning how to draw bows, it’s important to be aware of common mistakes that can detract from your artwork. One frequent error is neglecting symmetry. Even slight imbalances in the loops or knot can make the bow look awkward or unnatural.
Another mistake is overcomplicating the design. While it’s tempting to add intricate details, too much complexity can overwhelm the viewer. Focus on creating a clean and balanced design before adding embellishments.
Finally, avoid ignoring perspective. Drawing a bow from different angles can add interest to your artwork, but failing to consider perspective can result in a flat and unconvincing drawing.
How Can You Practice Drawing Bows Effectively?
Like any skill, mastering how to draw bows requires practice. Start by sketching simple bows and gradually work your way up to more complex designs. Use reference images to study the structure and details of real bows.
Another effective practice method is to draw bows in different styles and perspectives. This will help you develop a versatile skill set and improve your ability to adapt to various artistic challenges.
Finally, consider joining online art communities or taking classes to receive feedback and learn from other artists. This will not only enhance your skills but also keep you motivated and inspired.
Where Can You Find Inspiration for Drawing Bows?
Inspiration for drawing bows can be found all around you. Look at fashion magazines, gift packaging, and even nature for ideas. Observing how bows are used in different contexts can spark creativity and help you develop your unique style.
Online platforms such as Pinterest and Instagram are also excellent sources of inspiration. Search for keywords like “bow designs” or “artistic bows” to discover new ideas and trends.
Finally, don’t be afraid to experiment with your own ideas. The more you explore, the more you’ll discover what works best for you.
FAQs
How long does it take to learn how to draw bows?
The time it takes to learn how to draw bows depends on your dedication and practice. With consistent effort, you can see improvement in just a few weeks.
What tools do I need to draw bows?
You can start with basic tools like pencils, erasers, and paper. As you advance, consider using markers, colored pencils, or digital drawing software.
Can I use bows in digital art?
Absolutely! Bows are versatile and can be incorporated into digital art projects, including illustrations, logos, and designs.
Conclusion
Learning how to draw bows is a valuable skill that can enhance your artistic repertoire. By following the steps outlined in this guide, you can create beautiful and realistic bows that add elegance to your artwork. Remember to practice regularly, experiment with different styles, and seek inspiration from various sources. With dedication and creativity, you’ll soon master the art of drawing bows and take your artistic journey to the next level.
For more tips and tutorials on drawing, check out this external resource.